YouTube thumbnails are the gatekeepers to your videos, enticing viewers to click and explore your content. While creating captivating thumbnails may seem daunting, with the right tools and techniques, anyone can design eye-catching thumbnails with ease. In this article, we'll walk you through a simple and efficient process for making YouTube thumbnails effortlessly, helping you attract more views and engagement to your channel.
1. Choose the Right Tool:
Start by selecting a user-friendly design tool that suits your needs and skill level. Canva, for instance, offers a range of pre-designed templates and intuitive editing features perfect for beginners. Alternatively, if you prefer more advanced customization options, Adobe Photoshop or PicMonkey are excellent choices. Experiment with different tools to find the one that works best for you.
Start by selecting a user-friendly design tool that suits your needs and skill level
2. Select a Template or Custom Size:
Once you've chosen your design tool, select a YouTube thumbnail template or set a custom canvas size. YouTube recommends a thumbnail size of 1280 x 720 pixels, with an aspect ratio of 16:9. Using a template ensures your thumbnail is properly sized and saves you time in the design process.
Design templates allow you to edit a file which already has designs in it, allowing you to skip most of the high-skilled tasks required such as making the background and text effects.
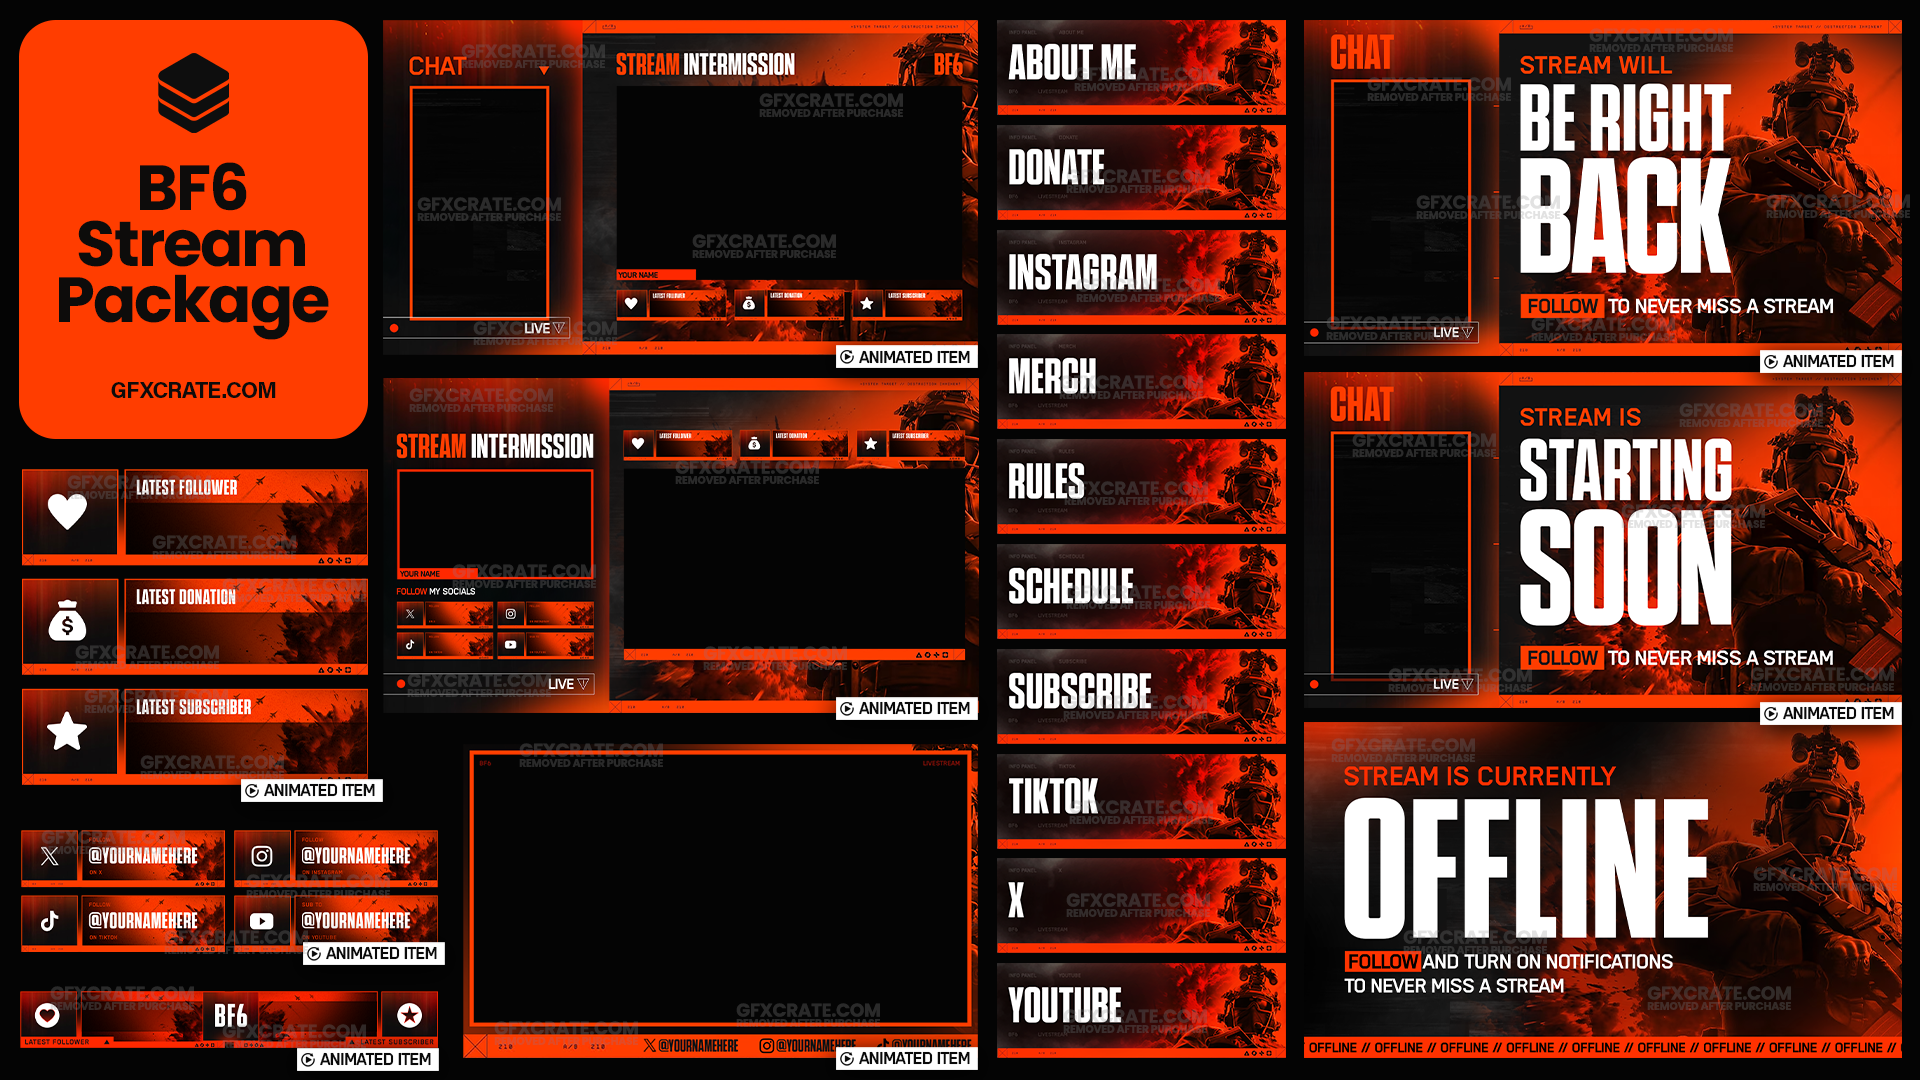
Here at GFXCRATE we offer a wide range of thumbnail templates at affordable prices in packs of 9 or 12. Each pack contains fully editable files which you can download instantly after purchase. These templates will allow you to create professional quality thumbnails without the need for lots of time or design skills.
templates will allow you to create professional quality thumbnails without the need for lots of time or design skills
3. Choose Compelling Imagery:
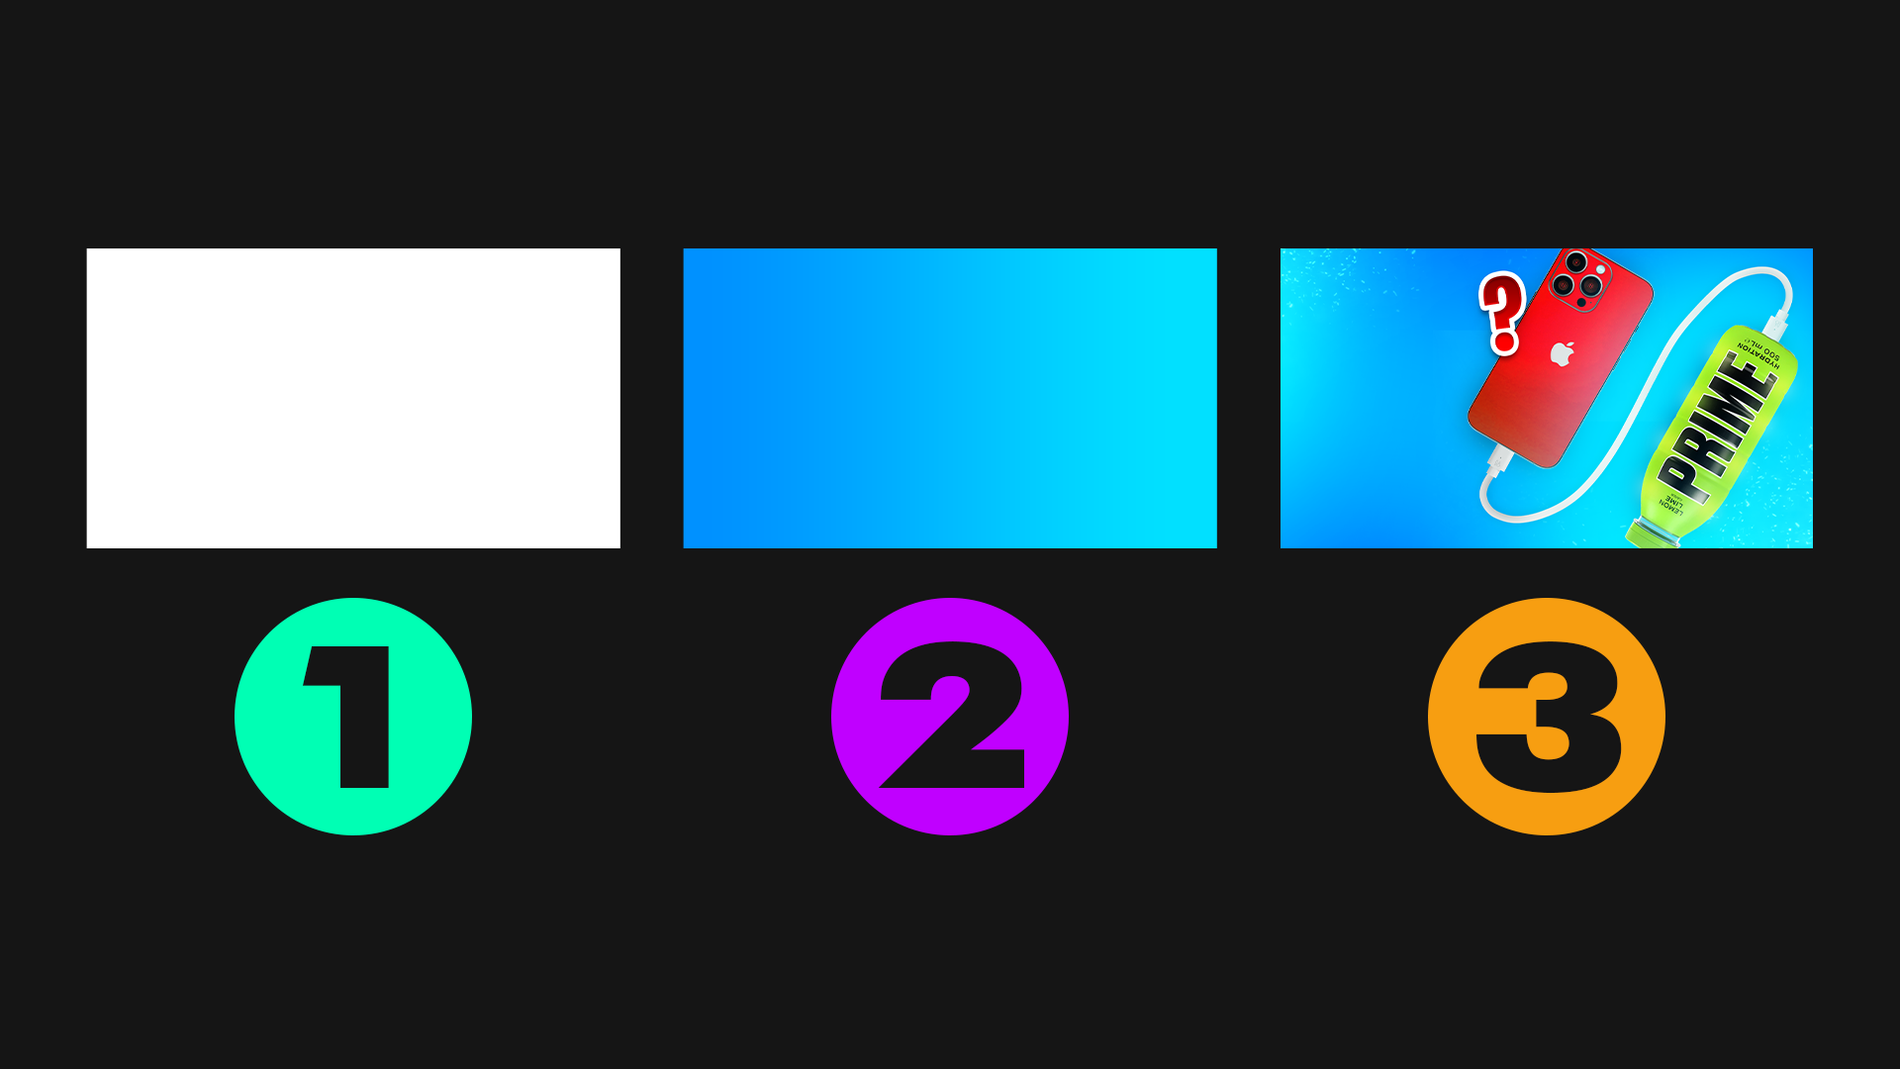
The key to a captivating thumbnail is selecting compelling imagery that accurately represents your video content. Choose high-quality images or screenshots from your video that showcase the most engaging moments or highlights. Make sure the imagery is clear, visually appealing, and relevant to the video's topic.
Choose high-quality images or screenshots from your video that showcase the most engaging moments or highlights
4. Add Text and Graphics:
Incorporate text and graphics to convey the essence of your video and grab viewers' attention. Keep your text concise and impactful, using bold fonts and contrasting colors to make it stand out against the background. Add relevant graphics, such as icons or symbols, to reinforce your message and enhance visual appeal.
Keep your text concise and impactful, using bold fonts and contrasting colors to make it stand out
5. Experiment with Colors and Effects:
Use color psychology to your advantage by selecting colors that evoke the desired emotions or themes associated with your video content. Experiment with color overlays, gradients, or filters to add depth and visual interest to your thumbnail. Keep your color palette consistent with your branding for a cohesive look.
Experiment with color overlays, gradients, or filters to add depth and visual interest to your thumbnail
6. Optimize for Readability and Mobile Viewing:
Ensure your thumbnail is easily readable and visually appealing, even at smaller sizes or on mobile devices. Avoid overcrowding the thumbnail with text or visual elements, and maintain a clear focal point to guide viewers' attention. Test your thumbnail on different devices and screen sizes to ensure optimal readability and visual impact.
Avoid overcrowding the thumbnail with text or visual elements, and maintain a clear focal point to guide viewers' attention
7. Preview and Fine-Tune:
Before finalizing your thumbnail, take a step back and preview it in context with other thumbnails on your channel. Consider how it will appear in search results and recommended feeds, and make any necessary adjustments to ensure it stands out and accurately represents your video content. Fine-tune the design until you're satisfied with the result.
Consider how it will appear in search results and recommended feeds, and make any necessary adjustments to ensure it stands out
8. Save and Upload:
Once you're happy with your thumbnail design, save it in the appropriate file format (e.g., JPEG or PNG) and upload it to your YouTube video. Pay attention to YouTube's guidelines for thumbnail size and resolution to ensure optimal display and compatibility across devices.
save it in the appropriate file format (e.g., JPEG or PNG) and upload it to your YouTube video
Conclusion:
Creating stunning YouTube thumbnails doesn't have to be complicated or time-consuming. By following these simple steps and leveraging user-friendly design tools, you can make eye-catching thumbnails effortlessly and attract more views and engagement to your channel. Remember to stay true to your brand and content, experiment with different elements, and have fun with the design process. With a little creativity and attention to detail, you'll be creating compelling thumbnails that captivate viewers and drive clicks in no time.


